Wednesday, April 27, 2022
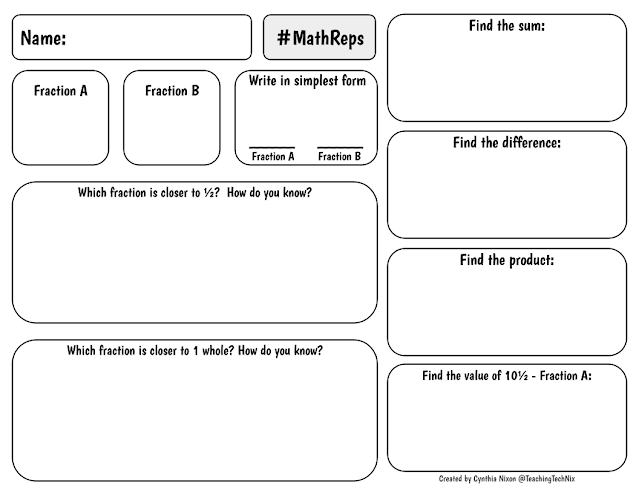
#MathReps Fractions
Saturday, October 2, 2021
Google Classroom Student Selector
Thursday, April 29, 2021
Emoji and Symbols Viewer for MacBook
If you teach math or some other subject that requires you to use special symbols or characters frequently, or you just plain love emojis, this post is for you. This is for MacBook as that is what I currently use. I teach 5th grade right now and often create my own math activities. I find I need the multiplication symbol (yes, I know I can use the letter x, but I like the way the actual multiplication symbol looks) and the division symbol quite frequently. This is something I discovered by accident one day, and I'm so glad I did! I use it all the time in a variety of programs.
The Emoji and Symbols tool allows you to quickly search for emojis or any special symbols or characters by just clicking a button on your menu bar. It is very easy to set up.
1. Find the input menu icon on the menu bar in the upper right corner of your screen and click it. Mine is a US flag because my keyboard is set to US, yours may be different. If you can't find this, you can always skip steps 1-2 here and just go to your system preferences and choose "keyboard".
Saturday, February 1, 2020
Save Time With Bookmarks: Document Templates
You can do this with any size, but I am going to show it with the three documents I use the most, 8.5 x 11 portrait and landscape slides as well as a landscape document. Portrait documents are default so I didn't need a shortcut for that.
Step 1: Create a folder in your Google Drive and call it something like Templates or Shortcut Templates. This will give you a place to store these template documents you are about to create so that you remember what they are for.
Step 2: Create a folder in your bookmarks bar. You can do this by right clicking on the bookmarks bar and choosing "Add folder". Name the folder "Templates" or whatever you wish to call it.
Step 4: Change the slide size to be 8.5 x 11 to make a portrait slide set. You can do this by going to File --> Page Setup and choosing Custom. Then change the units to inches and set it to 8.5 x 11.
Step 5: Now that you have your portrait sized slides file, click on the little star to the right of the web address in the address bar to create a bookmark for this page.
Thursday, October 31, 2019
Pinterest Template
Thursday, April 4, 2019
Google Slides: Insert a Video
- Open up a Google Slides presentation.
- Click on the "Insert" menu and choose "Video" from the list.
- Choose where the video comes from. Are you going to run a YouTube search, paste in a YouTube URL, or search for the video in your Google Drive? Choose the correct tab for your choice.
- Click on the video you wish to use and click on the "Select" button.
If you use a video from your Google Drive, remember to adjust the sharing settings on the video file itself so that others who view your presentation can also view the video.
Google Docs: Insert a Video into a Google Doc
Step 1: Get Your Video URL
- Find the YouTube video you'd like to insert.
- Click on the "Share" button below the video.
- Copy the URL for the video by clicking on the "Copy" link.
Step 2: Insert Your Video into a Google Slides Presentation
- Open a new Google Slides presentation.
- Click on the "Insert" menu and choose "Video".
- Select "By URL" and paste in your link.
- Click "Select" and it will insert your video on the slide.
- On the Google Slide, click on the inserted video to select it.
- Press command+C on a Mac, or Ctrl+C on a PC or Chromebook, to copy the video. DON'T use right click and copy.
- Place your cursor into the Google Doc wherever you'd like the video to be.
- Click on the "Insert" menu and choose "Drawing" and "New".
- Click in the Google Drawing window that opens up and press Command+V on a Mac, or Ctrl+V on a PC or Chromebook, to paste the video. Right click and paste will not work.
- You can resize and position the video however you'd like it. Normally I make it a little larger by dragging on one of the corner arrows and then I right click and center it horizontally and vertically. You could even add some credit line text under the video if needed.
- Click "Save and Close" and the video will now be in your Google Doc. You can adjust the size and positioning of the video in the same way you would an image.
Helping teachers incorporate technology, one tech tip at a time.

.png)


